PART
1: making a lightbox from what
you have at home
MATERIALS:
-
cardboard
box
-
sharp
knife or wallpaper trimming knife
-
scotch
tape
-
white
sandwich paper
-
marker
or a ball pen
-
white
or other color A4 / A3 / A2 Bristol board (depending on the box size)
1. Cut out one of
the walls of the cardboard box.
2. Draw the rectangles
on three walls of the box, leaving enough margin (about 1.5-2cm) to keep construction
strong enough after you cut out the inside. Make sure the sheets of
sandwich paper are big enough to cover those rectangles.
3. Cut out the
rectangles with a sharp knife or a wallpaper trimming knife.
That is what you should get
after this step:
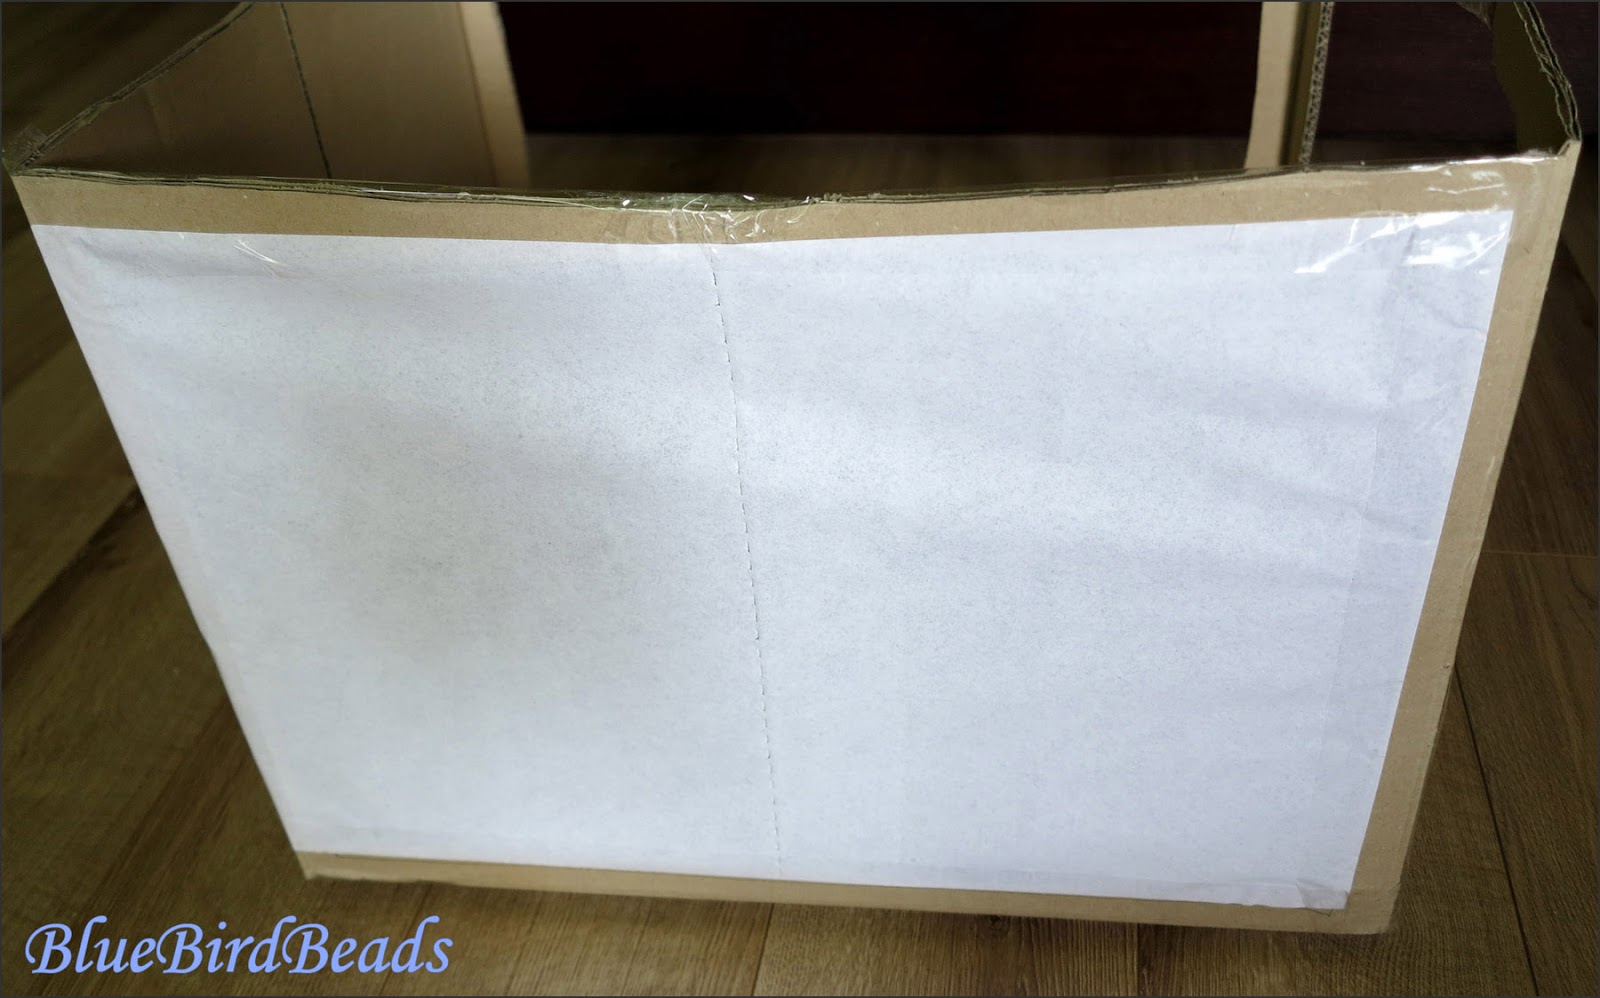
4. Stick the
sandwich paper to the frames using scotch tape. Make sure that it is even
(does not have to be perfect – just no wrinkles that could cause the
shadows).
5. You may want
to strengthen some parts of the frame with the scotch tape or even
additional cardboard if necessary.
6. Your lightbox is almost ready…
7. ...just add the background (the more it
covers the back wall of the lightbox the better).
It
really makes a difference – examples:
Better image of colors:
Softer gradient of light (1),
smaller and softer shadows (2):
 |
(pictures
without edition taken on a cloudy day with no additional light)
|
Even distribution of light,
more reflexes:
1. picture on a white paper made outside the lightbox
2.
picture made inside the lightbox
3.
picture made lightbox using
small tip*
 |
1 2 3
(pictures without edition taken on a cloudy day with no additional light) |
* tip – take additional sheet
of Bristol
paper or one of the rectangles that you cut out of the box. Wrap it in the aluminum
foil and use it to reflect additional light towards your object. Play a little
with various angles to find the best effect.
For more examples on how the lightbox makes a difference check my pictures from 2015 and 2016 until May and how they improved after.
I hope you will find this
tutorial helpful.
Stay tuned, as the second part is coming soon (basics of photo edition).